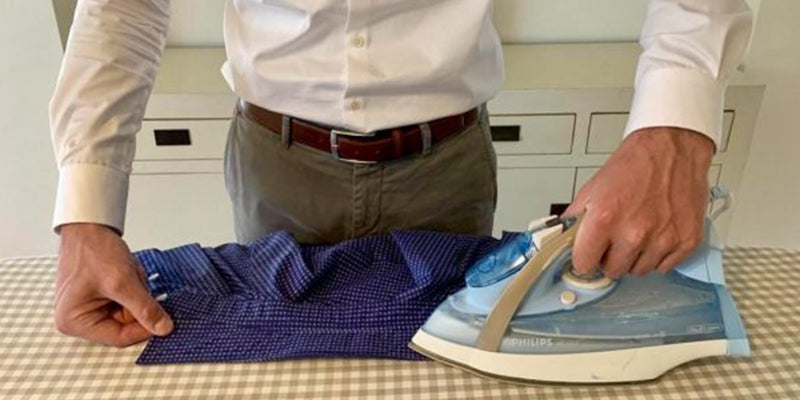
IRON YOUR SHIRT IN 5 QUICK STEPS
Share
BEFORE YOU START IRONING
- Position 2 dots (warm)
- Use a good iron
STEP 1: THE BORDER
- First the inside
- Then the outside.
- Make a nice fold so that the points of your board point downwards
- From the tip of the collar to the center. This way your visible wrinkles will reach the points of your collar.

STEP 2: THE CUFFS
- Open the cuff buttons and open the cuff.
- Iron on the inside, working towards the center.
- Don't put too much pressure on the buttons, and gently iron around them
- Go straight to the sleeve, then grab the other side of the shirt

STEP 3: THE SLEEVES
- First leg the sleeves nice and straight, from the top of the shoulder to the intersection under the armpit
- Work from the cuffs to the shoulder
- Turn the sleeve over and check if this side needs a quick treatment

STEP 4: THE FRONT AND BACK
- Start at the row of buttons and work from bottom to top
- Move the shirt around to keep the fabric straight and tight.
- This is how you iron the back and then end up at the front again, with the buttonholes.

STEP 5: THE SHOULDERS
- Fold the shoulder of the shirt over the short side of the ironing board
- Work from the outside in
- Finally, turn the shirt to get both the front and back of the shoulder nice and tight

TIPS:
- Iron your shirts immediately after washing, while they are still damp
- Do not tumble dry shirts. This is not good for the quality, and makes ironing a nightmare
- Do you iron later? Then immediately blow out the shirt and hang it on a clothes hanger
- Do you iron a crease in your shirt? Then wet it and iron out the fold
- Dark fabrics: only iron the outside
